Objective
A guide on how to use Connect to automate domain authentication with GoDaddy.
Things to consider when using automated setup:
- This only works for GoDaddy domains, using automated security.
- This only works for the root domain.
- Domain must have Domain Connect enabled.
Product
Procedure
Step 1: Ensuring Domain Connect is enabled.
- Log into the GoDaddy Account and then navigate to the following URL, replacing DOMAIN with your GoDaddy Domain.
-
- "https://dcc.godaddy.com/control/DOMAIN.COM/dns"
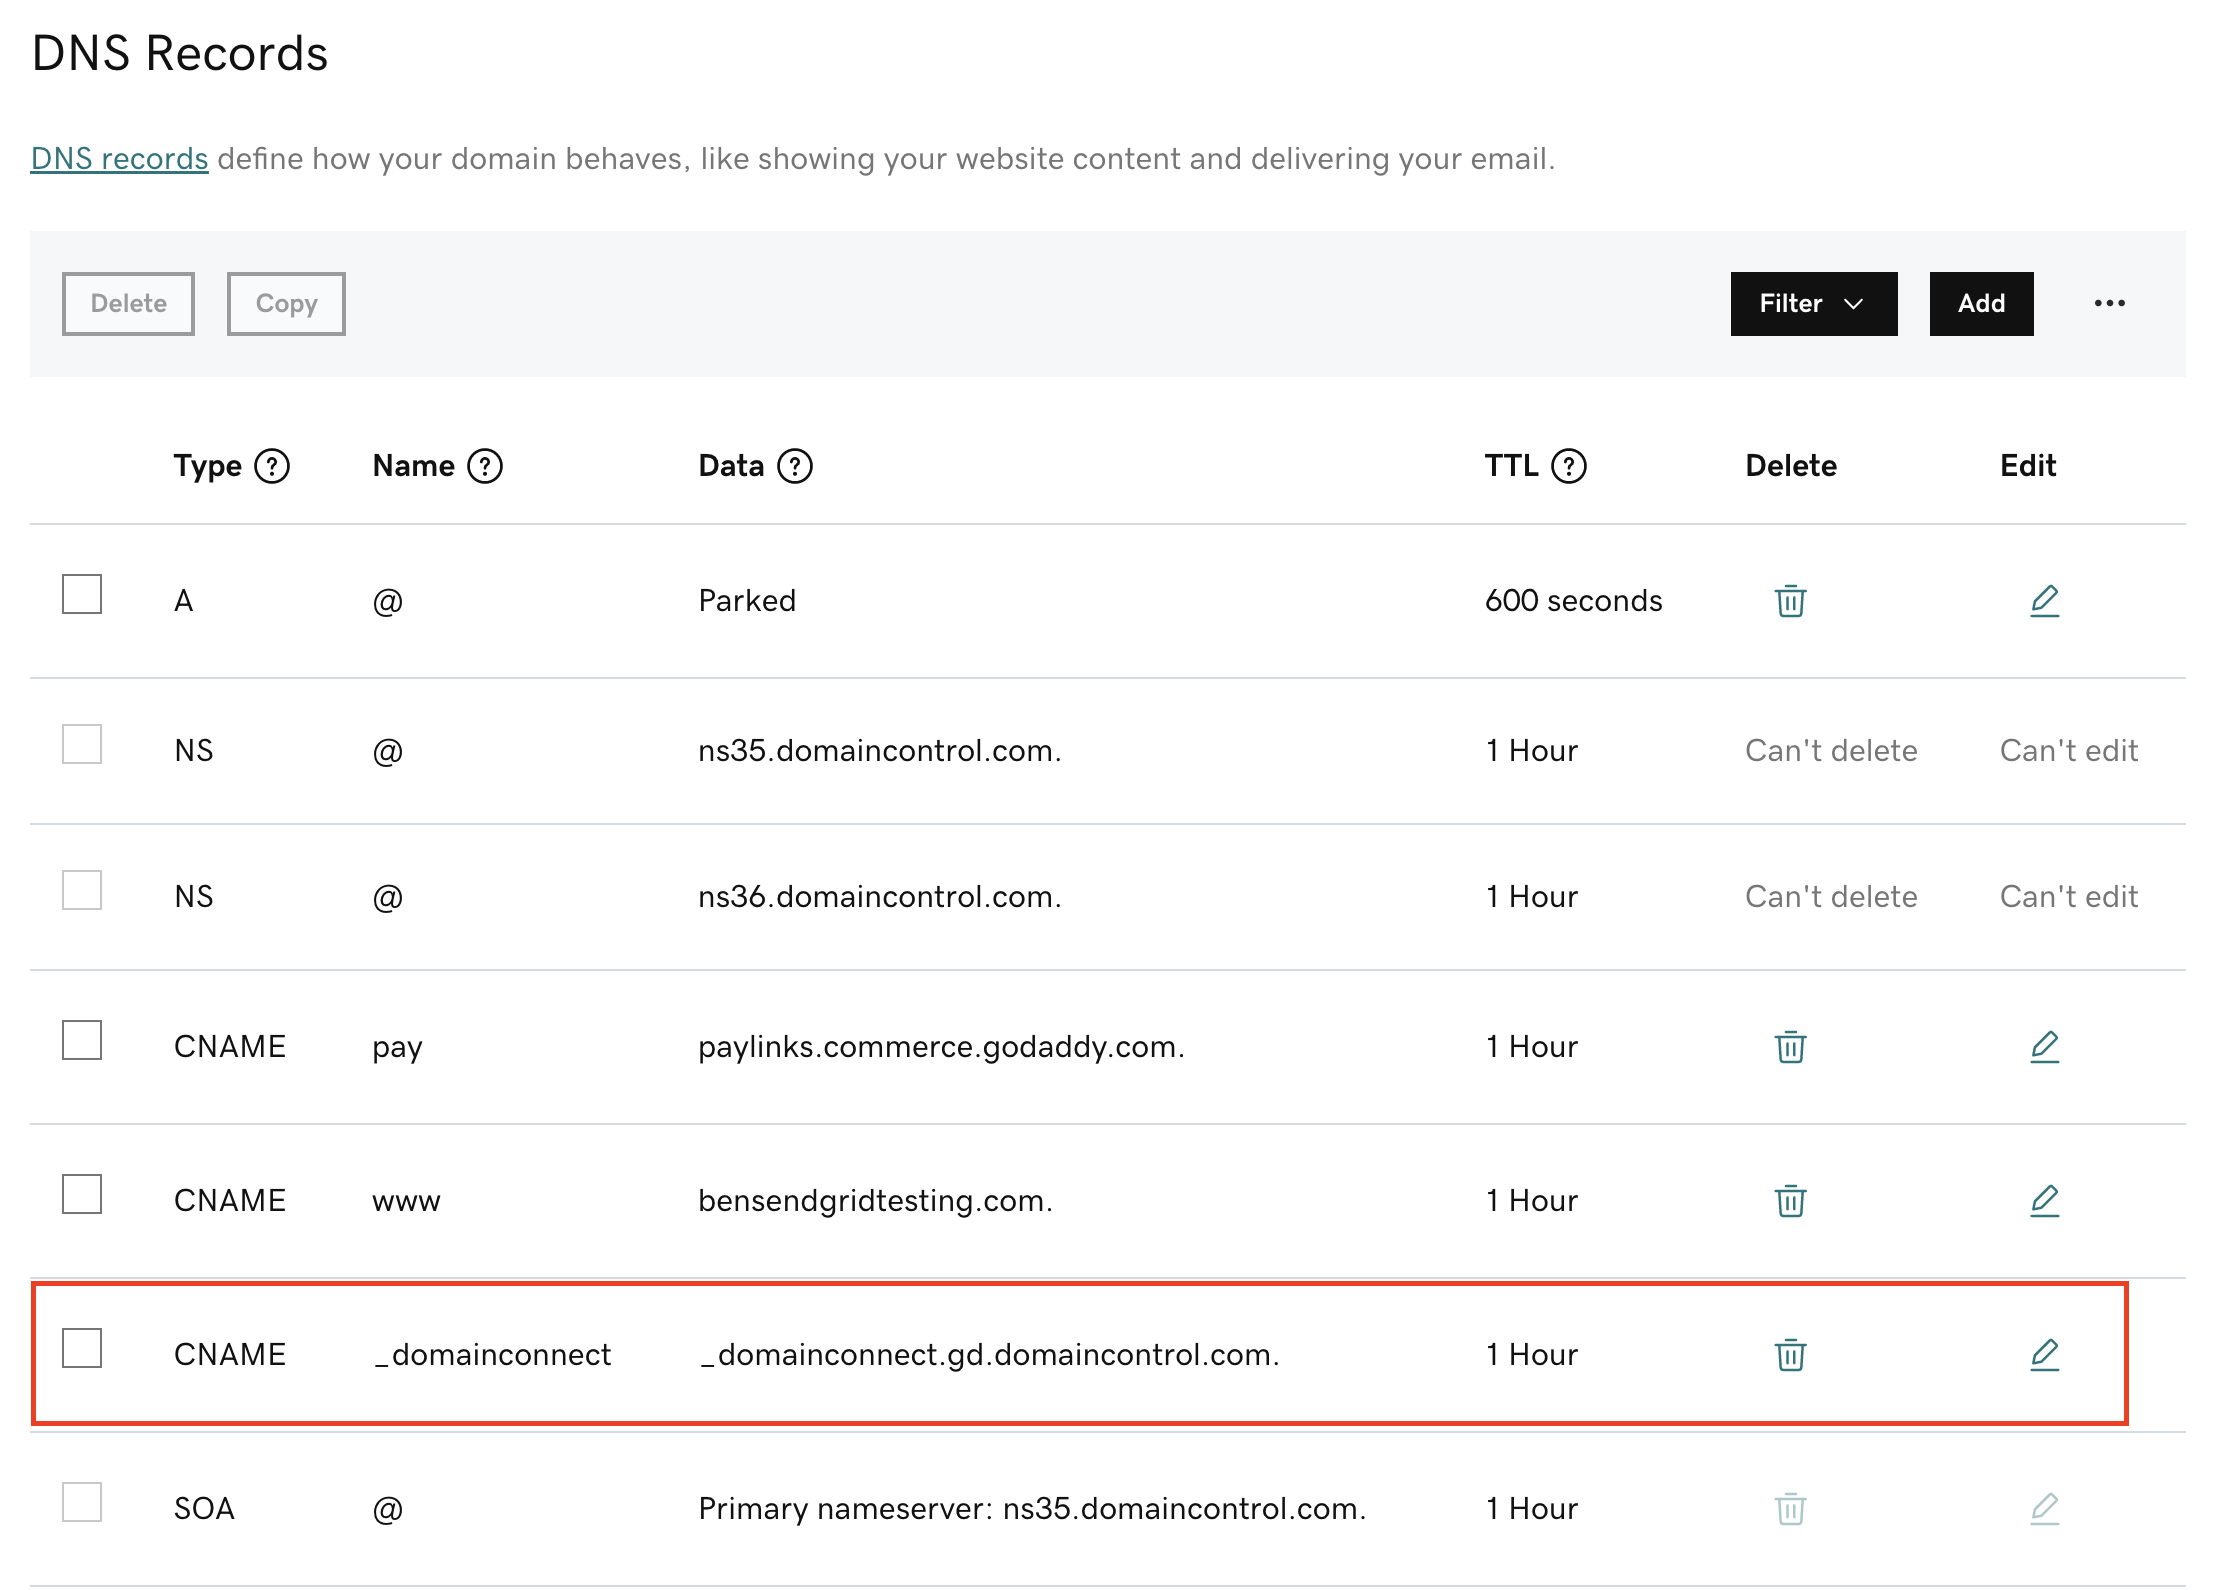
- Once here, check to ensure the Domain Control record is listed. See below Screenshot:
- If record is not there, it will need to be added:
- Name:
_domainconnectValue_domainconnect.gd.domaincontrol.com.- **This record is added by default for newly registered domains.
-
This link directs to GoDaddy's support page on adding a CNAME record.
- Name:
Step 2: Using automatic setup to authenticate a domain.
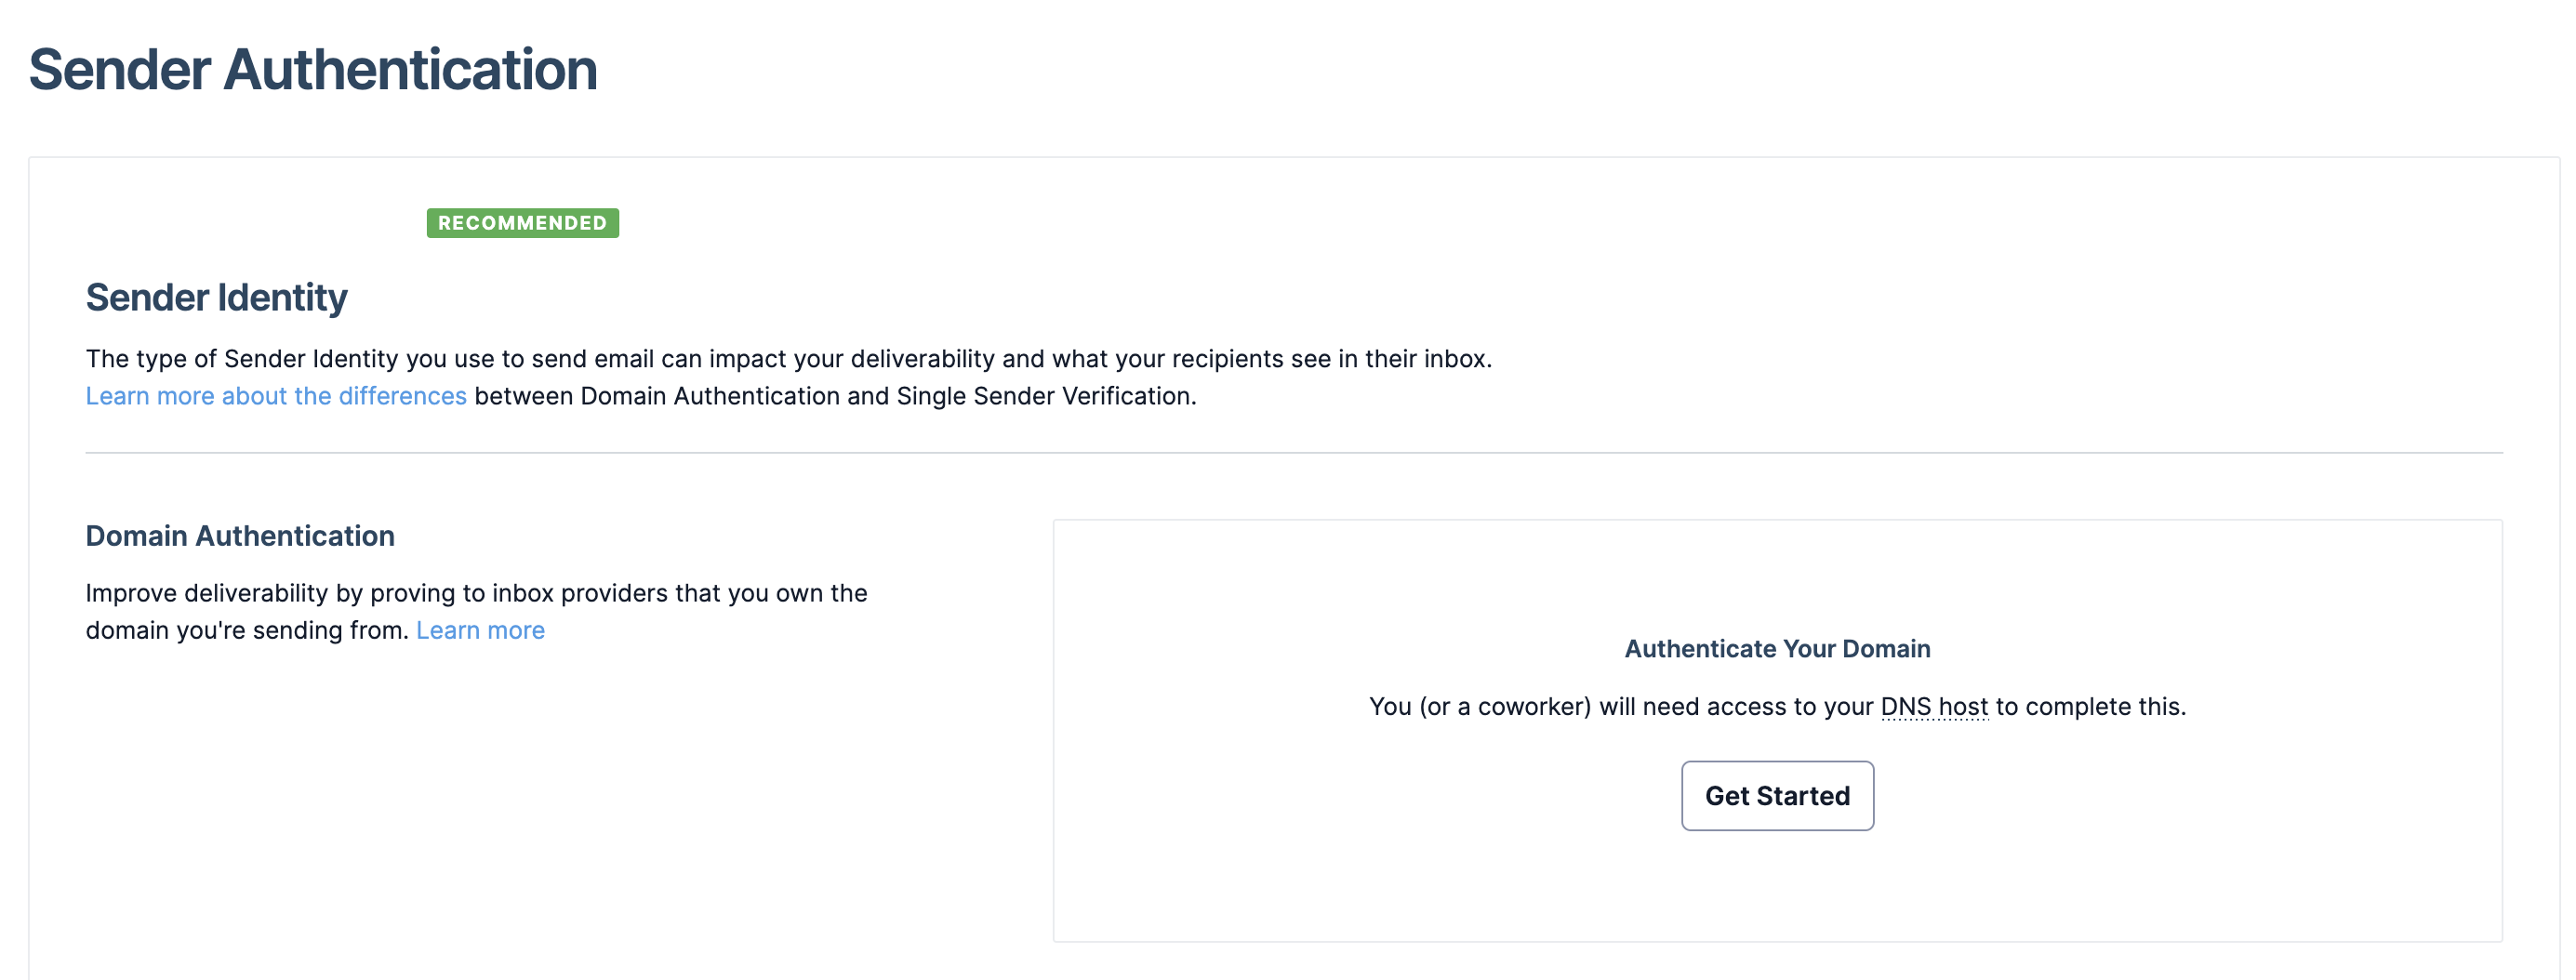
- Navigate to your Sender Authentication Section in your SendGrid account: https://app.sendgrid.com/settings/sender_auth
- Click on either "Authenticate Your Domain" or "Get Started", depending on if you have previously setup domain attempts.

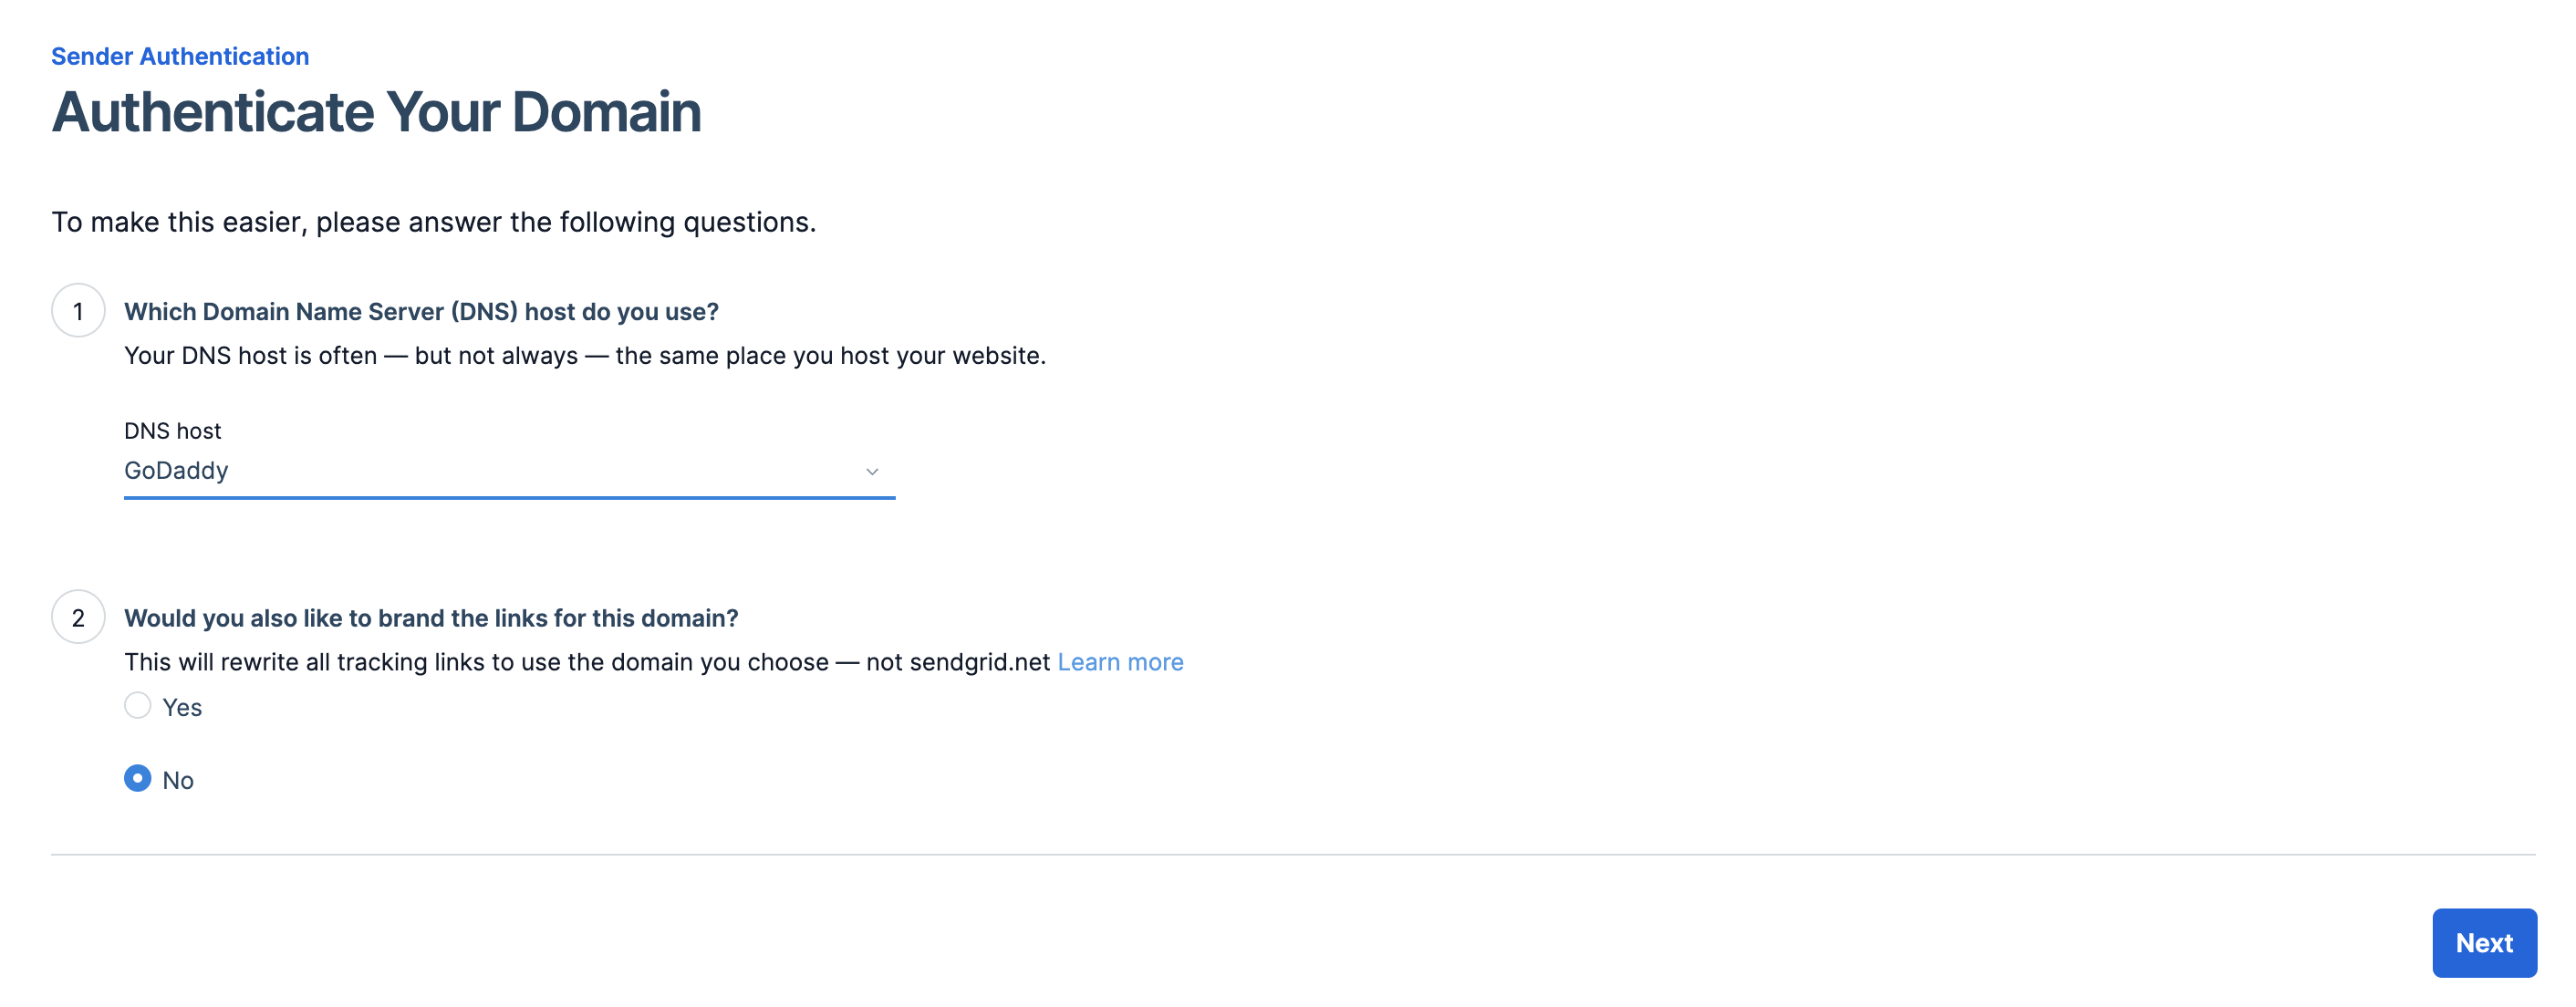
- Ensure Go Daddy is selected, and that "Would you also like to brand..." is set to No.
- Type your domain exactly as it appears in GoDaddy. Ensure Automated Security is selected. (It should be selected by default)
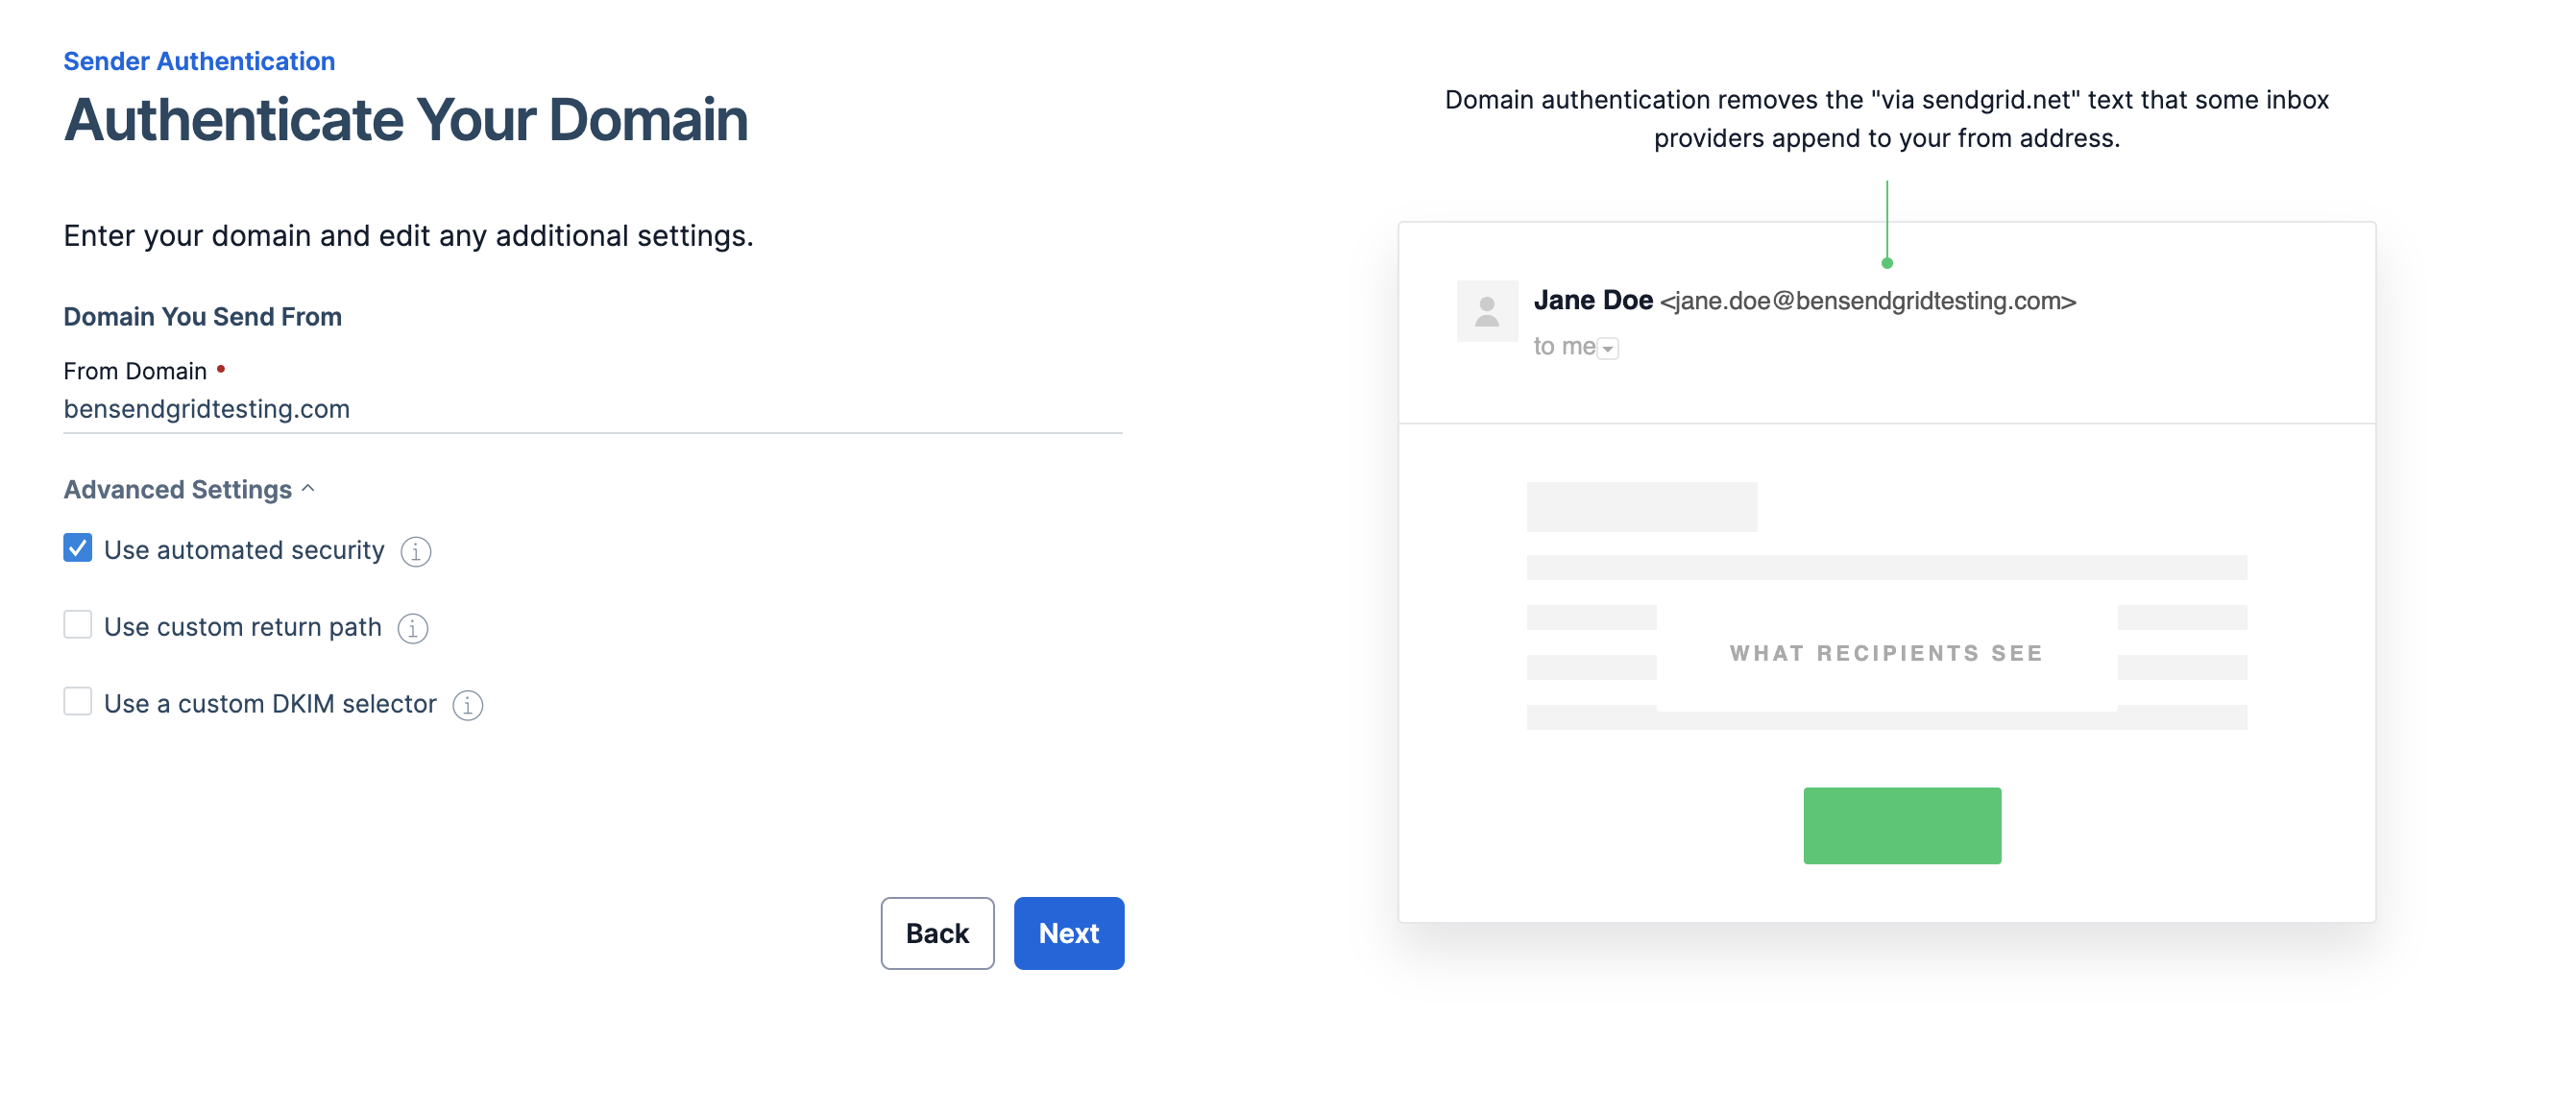
- Click on "Automatic Setup" You should see your domain listed here as pending, and a Connect button. Click the Connect button.

- This will open a new window for GoDaddy. You may need to login with your GoDaddy credentials first, but once you see Connect, hit the Connect button!
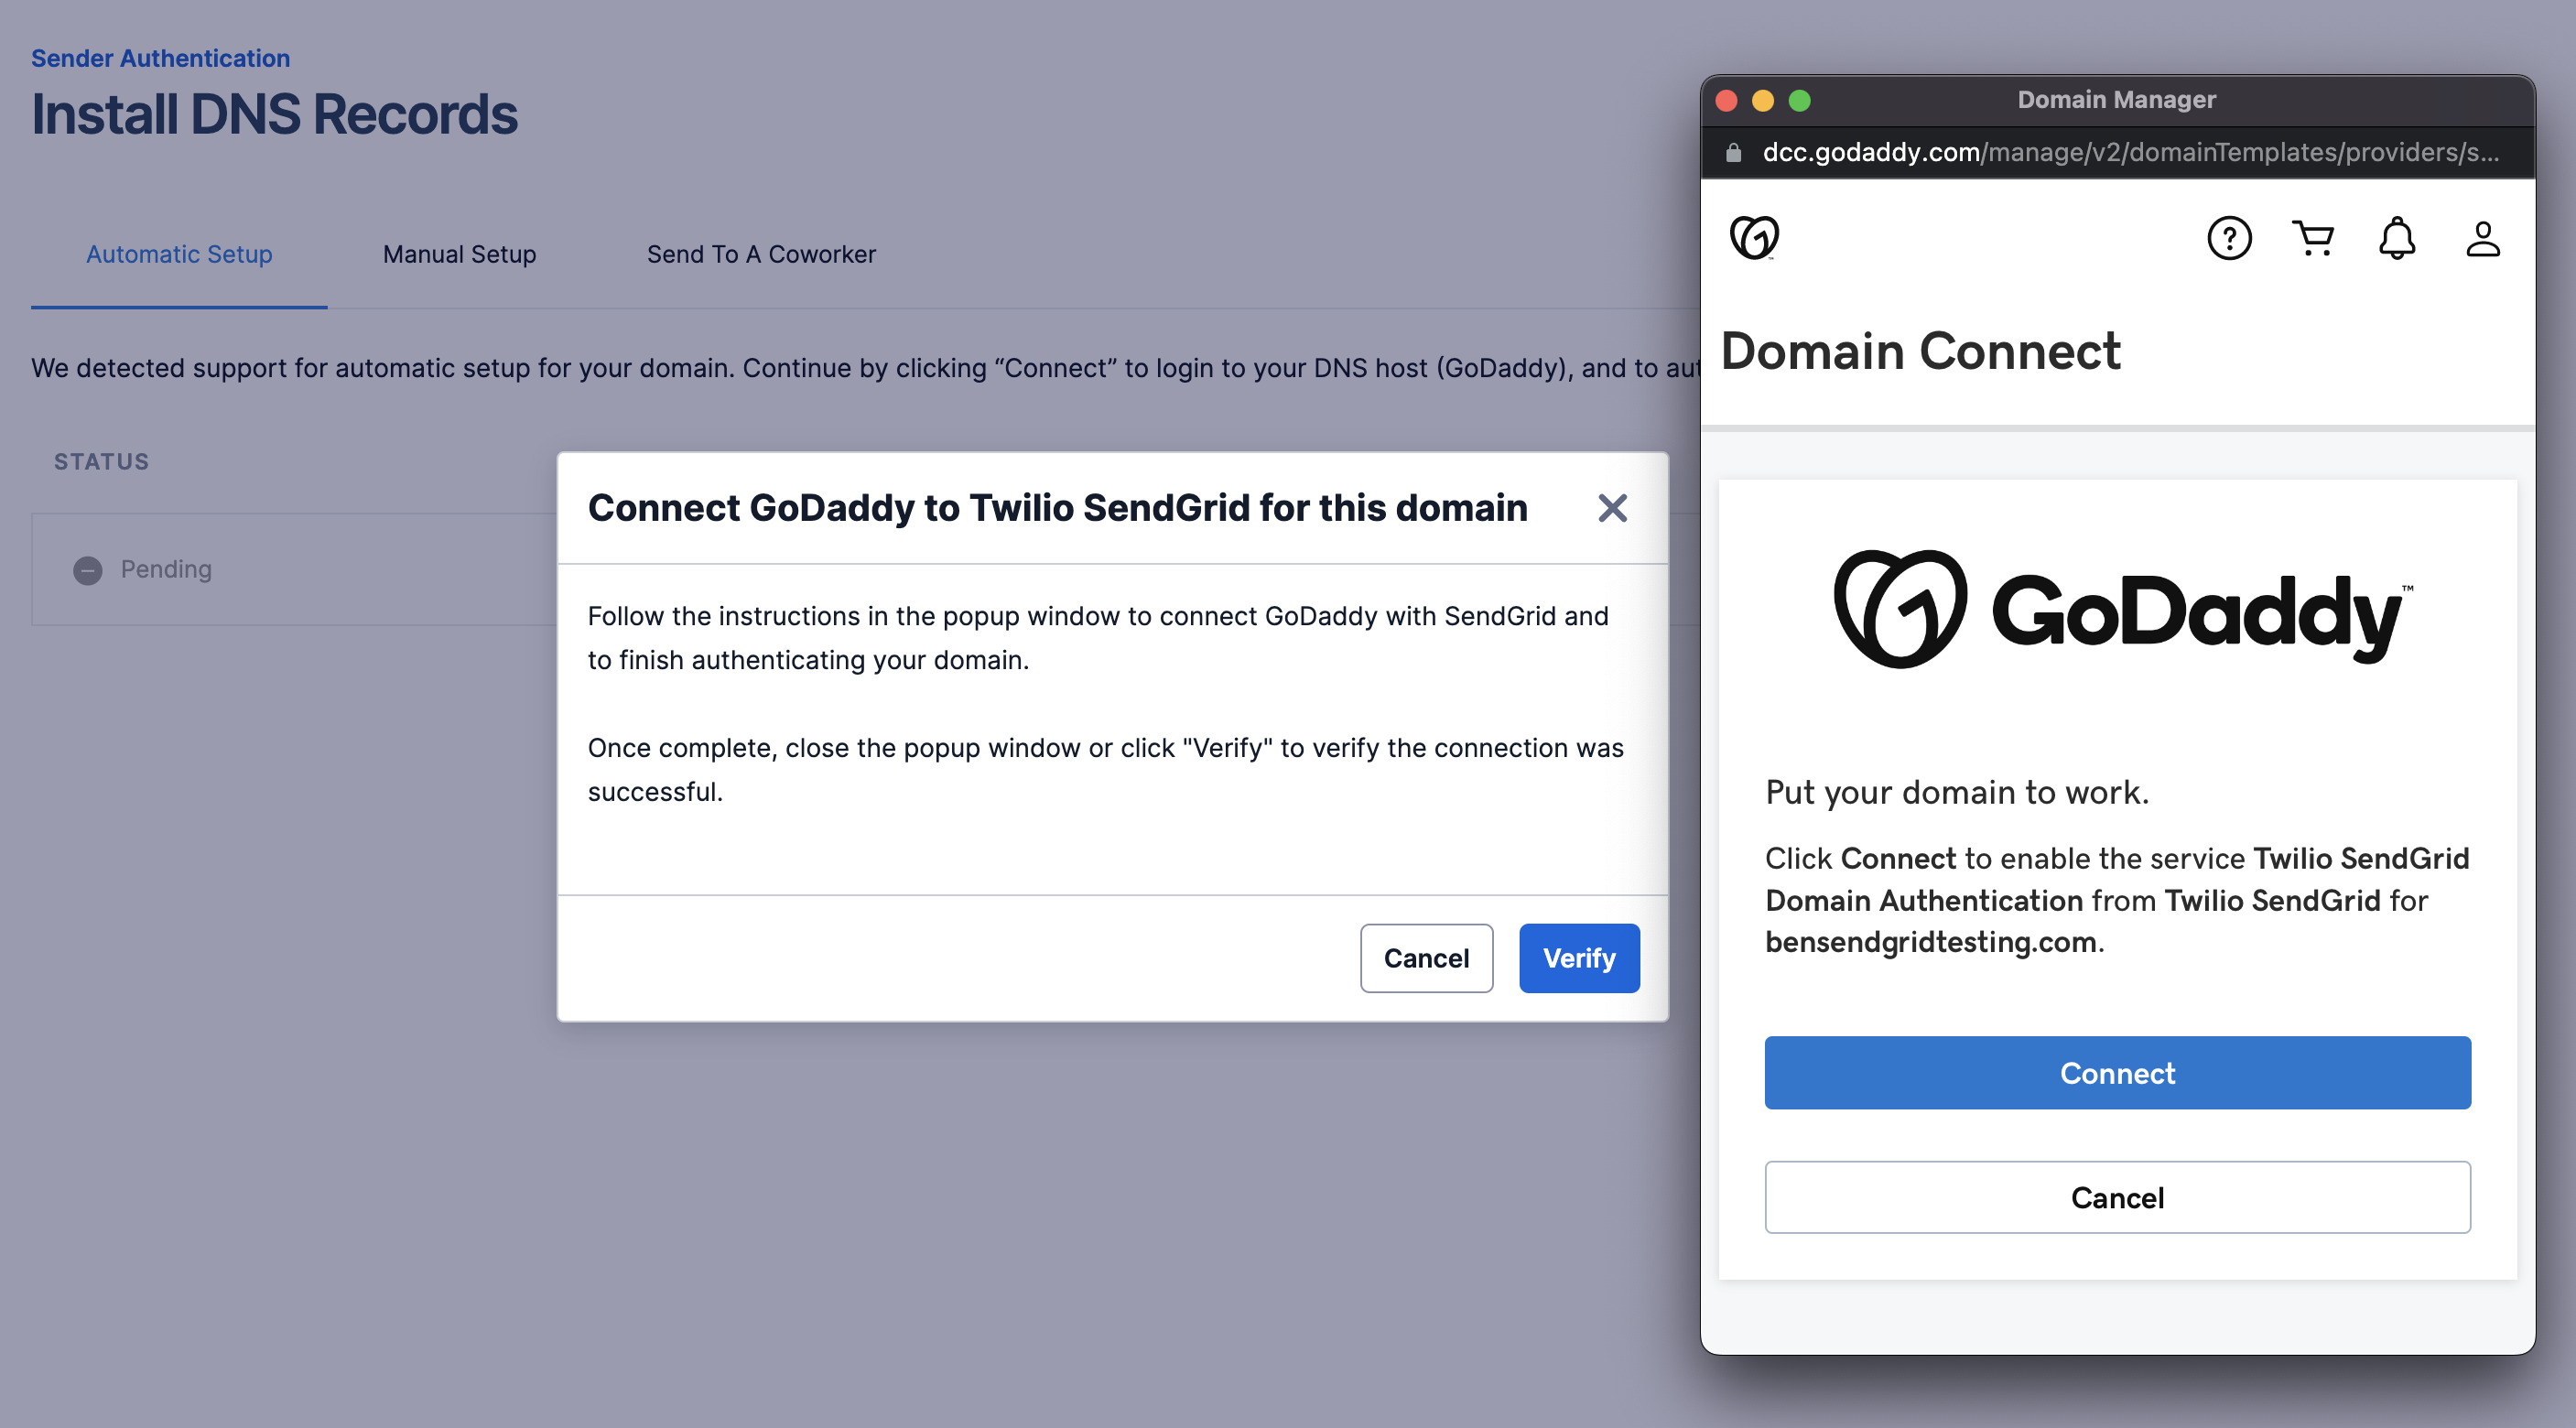
- This should close the GoDaddy window and show a verifying window. Please be patient and do not refresh, it can take a while.
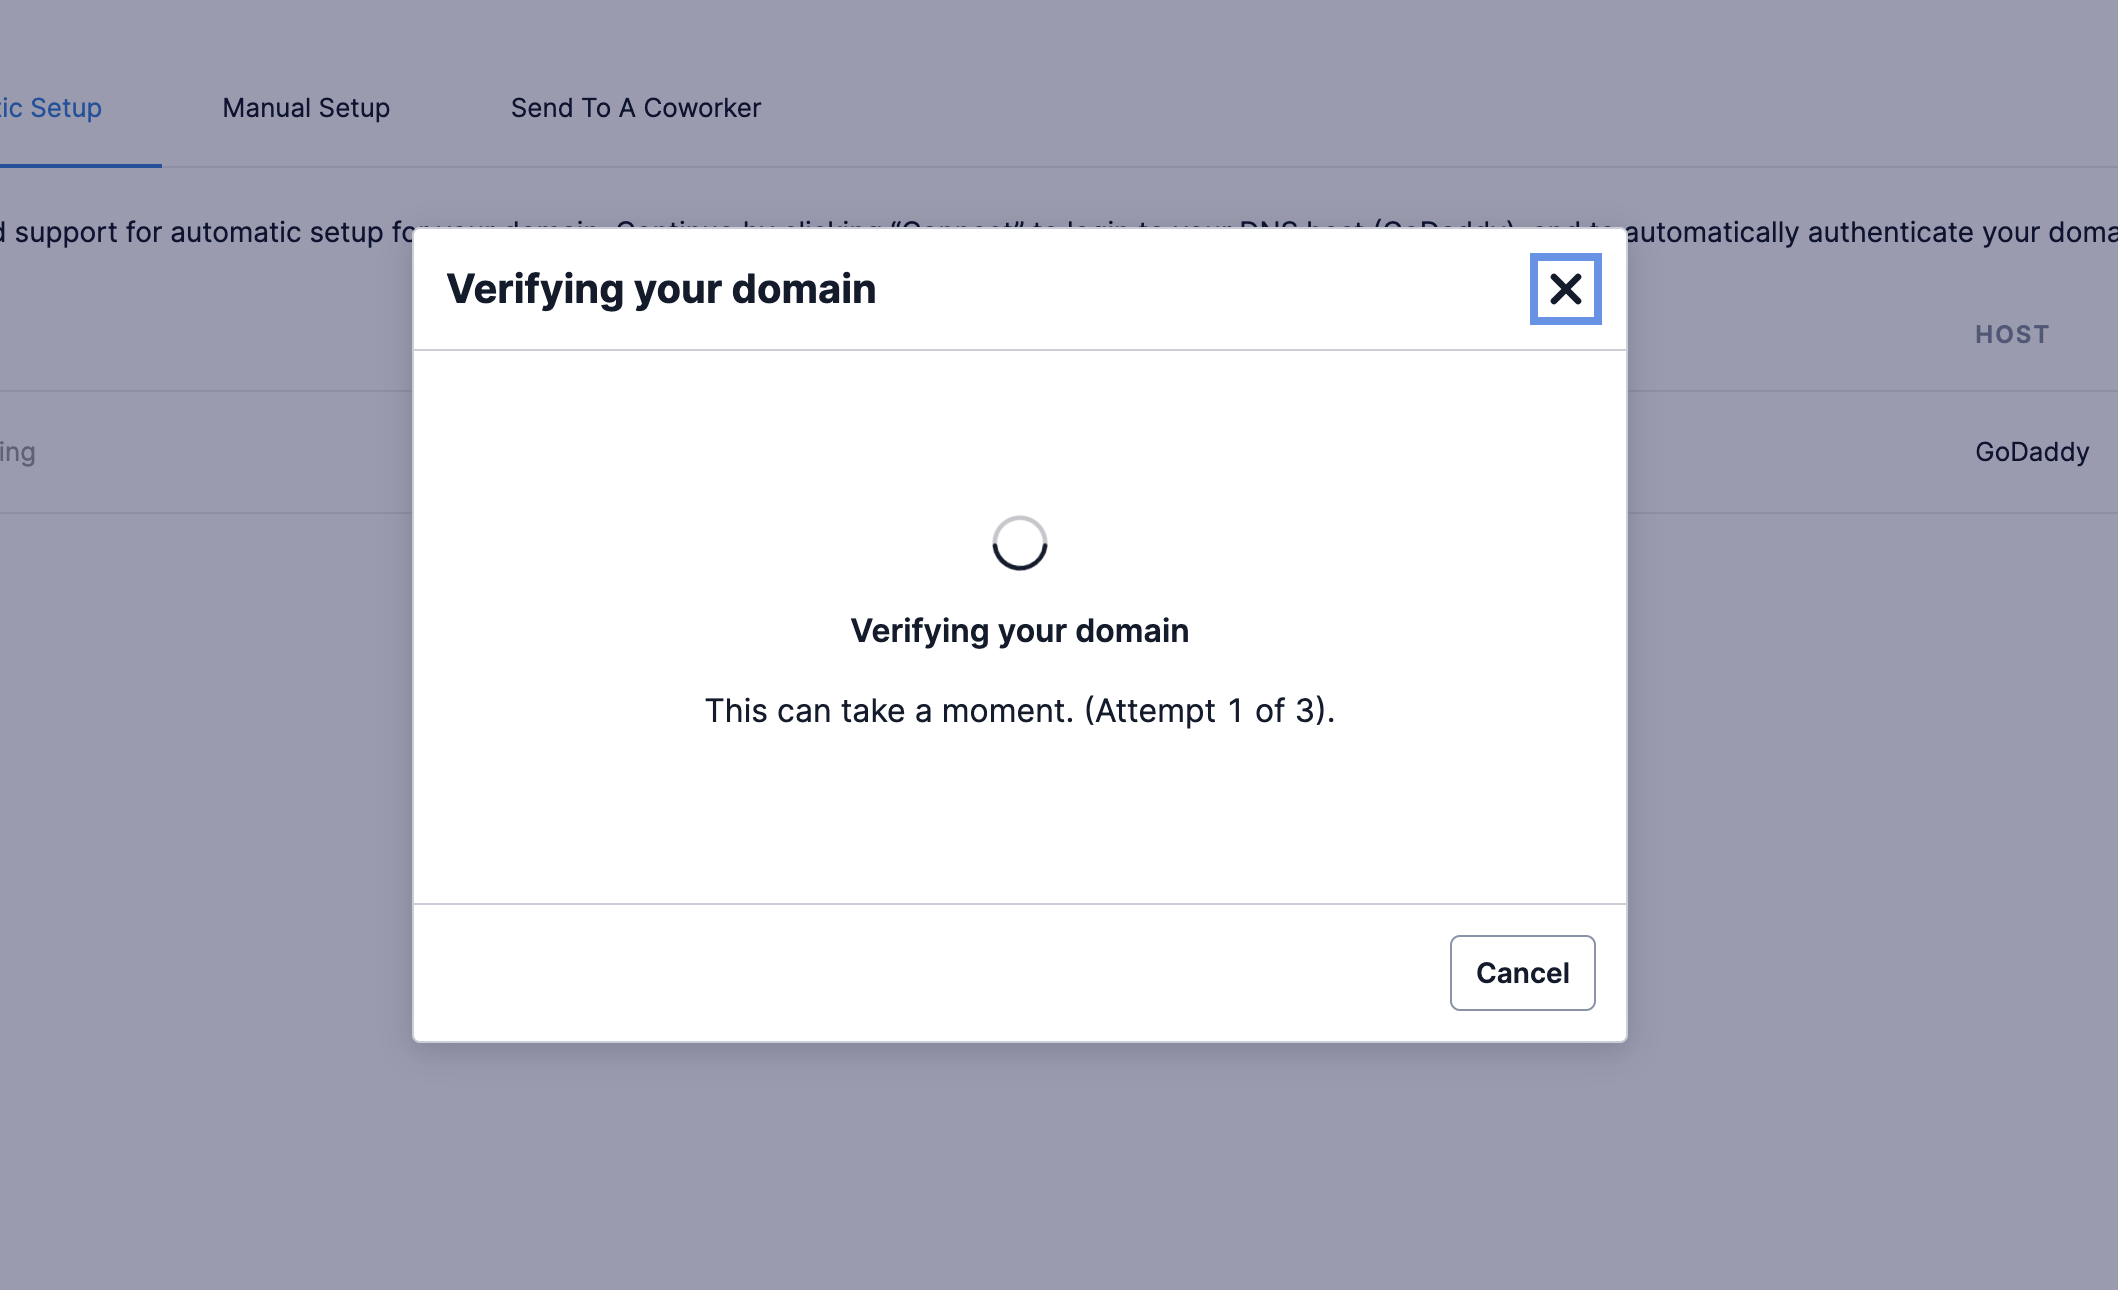
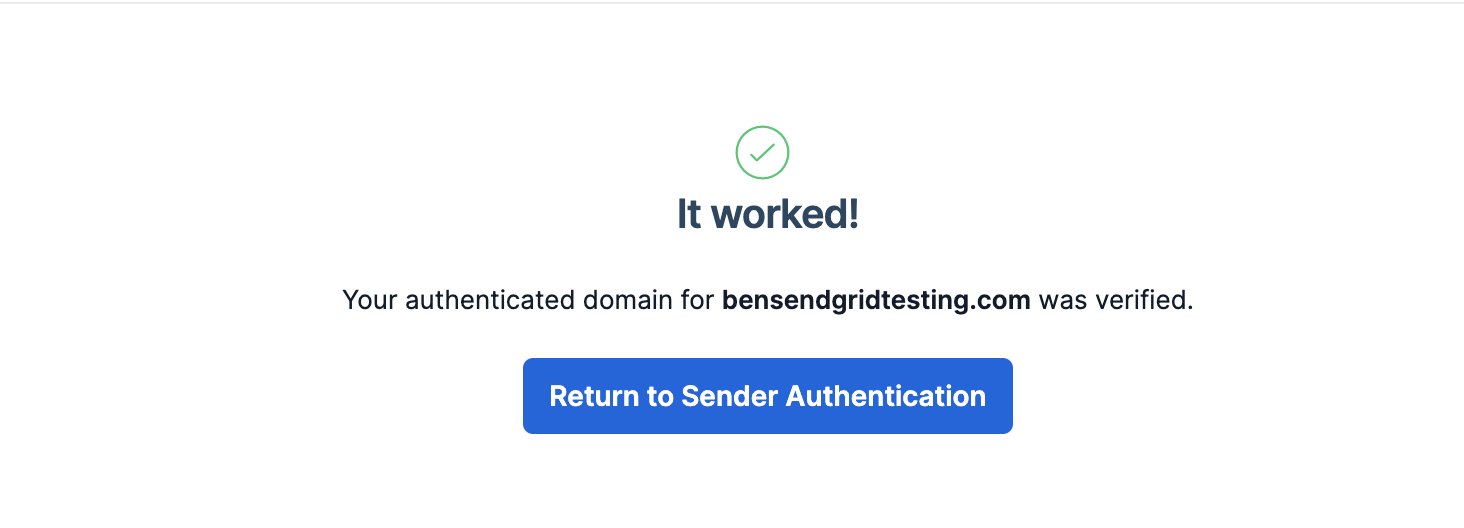
- If you reach this screen the DNS records have been added and verified automatically!
